工程依赖#
Farmework: hugo
The world’s fastest framework for building websites.
Theme: blowfish
Personal Website & Blog Theme for Hugo
安装指南#
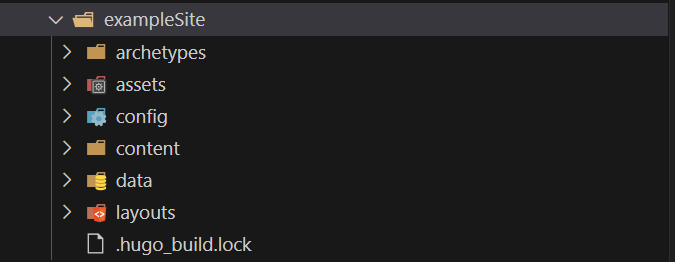
参考blowfish主题的 安装和配置 文章中的 使用 Git 子模块安装,按照 设置主题的配置文件 ,配置自己的参数。可以将theme/blowfish/路径下的exampleSite/目录下的文件及文件夹拷贝到工程根目录下,之后在此基础下逐步添加新内容。目录如下:

exampleSite目录内容

自动部署#
准备仓库#
仓库a:github上以“
账户名称.github.io”为名称的仓库(或者gitee等其他平台的,例如:github账户名称:MortyZhaoy,新建仓库名称:MortyZhaoy.github.io)。该仓库的作用用于存放hugo生成的网站的静态文件。仓库b:github上新建一个随机名称的仓库,用于存放
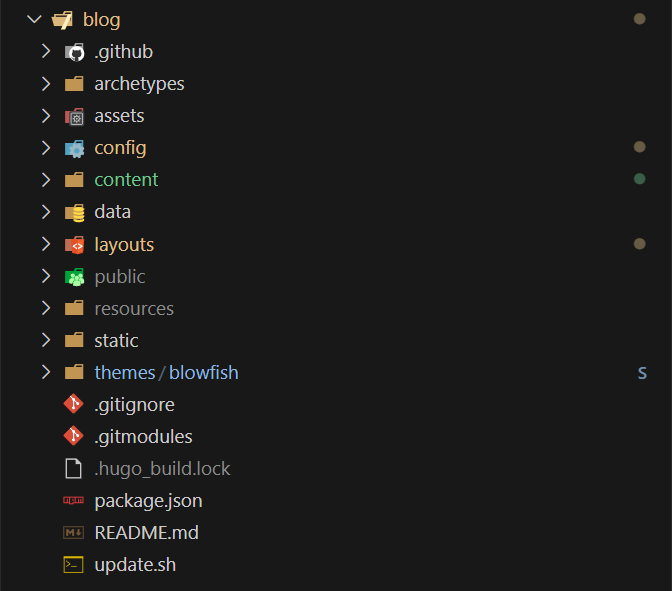
hugo new site .后生成的文件,包括个人的博客的markdown文件。由于包含个人的markdown文件,可以将其设置成私有仓库。该仓库还需要添加工作流,用于自动构建,并部署。
准备token#
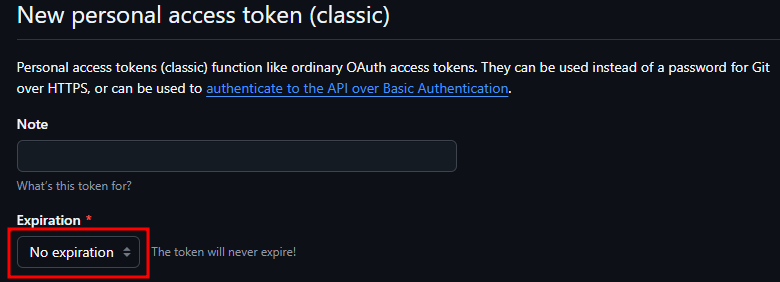
- Github用户"Settings"→“Developer Settings”→“Personal access token”→“Token(classic)“页面按照如下图方式新建:


- 在仓库b的“Settings”→“Secrets and vriables”→ “Actions”→“New repository secret”,在Name中填写“PAGES_ACTIONS_SECRET”,在Value中填写token(上一步骤中新建的token后生成的值)中的全部内容(包括头尾的文字),然后Add secret。Name中填写的PAGES_ACTIONS_SECRET”名称将会在github action的YAML配置文件中使用。

实现部署#
在工程根目录下新建.github/workflows/gh-pages.yml文件,内容如下图所示:personal_token属性的"PAGES_ACTIONS_SECRET"为上一步配置的secret变量名称,external_repository属性填写仓库a的名称:
name: deploy github pages
on:
  push:
    branches:
      - main
jobs:
  deploy:
    runs-on: ubuntu-latest
    steps:
      - uses: actions/checkout@v2
        with:
          submodules: true
          fetch-depth: 0
      - name: Setup Hugo
        uses: peaceiris/actions-hugo@v2
        with:
          hugo-version: 'latest'
      - name: Build Hugo
        run: hugo --minify
      - name: Deploy Pages
        uses: peaceiris/actions-gh-pages@v3
        with:
          external_repository: MortyZhaoy/MortyZhaoy.github.io
          personal_token: ${{ secrets.PAGES_ACTIONS_SECRET }}
          publish_dir: ./public
          publish_branch: main
至此当在仓库b中push新内容将会自动构建并推送至仓库a中,实现自动部署。
额外功能配置#
评论系统#
waline评论系统,官方链接
LeanCloud,官方链接
免费的部署,教程参考官方 快速上手
完全按照官方的“快速上手”教程操作就可以完美部署成功。config/_default/params.toml在blowfish的配置如下:

waline的serverURL配置字段,应该填写成vercel中,按照Waline快速上手教程中创建的工程名称下的projects界面下的Visit按钮,点击后跳转的页面地址。如下图所示:

